How to Repair and Patch a Hole in Drywall
Load-bearing walls hold up our homes, but the drywall itself can be damaged. Kids, pets, renovations, and even the occasional stumble can knock a hole right through it — with or without a family member confessing the “hole” truth.
Luckily, we’ve helped many customers with their own hole-patching projects and we know just what to do.
Whether you’re dealing with a tiny chunk in your drywall or a bigger “oops” situation, here are the trusted products you can turn to for help …
Patches:
If a door knob crashed through your drywall, leaving a nice door knob-sized hole for you, a patch is an easy way to fix it.

The Strait-Flex® Perma-Patch is a multi-purpose drywall repair patch. It measures 8” x 8” so it’s handy for banged-up areas, holes left from removing light fixtures, or holes you had to cut to save your hamster that squeezed behind the stove and got lost in the walls. (Um, it does really happen!)
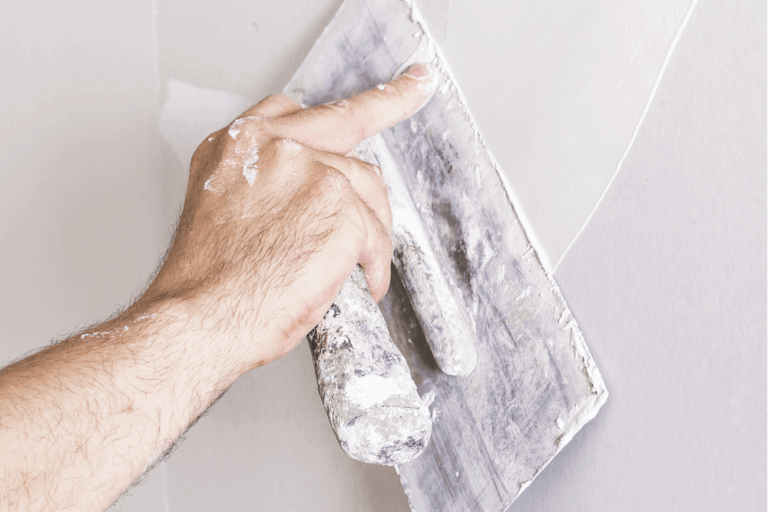
This patch is thin but very strong and made with a patented composite material that creates a strong bond with the damaged surface. You can use it on a wall or ceiling and it won’t sag. It also won’t fuzz up when you sand it, unlike fiberglass metal patches. Just clean the hole edges up, put some compound around the hole a little wider than the patch, apply the patch, apply two coats of compound over it (allowing time for the compound to dry between coats) to seal it in place, and finish it off with a light skim-coat of compound.
Outlet patches:
One of the most common places drywall needs a little extra assistance is around an electrical receptacle box. Maybe you were installing a new fixture and accidentally cut a larger hole than you needed. Not a problem!

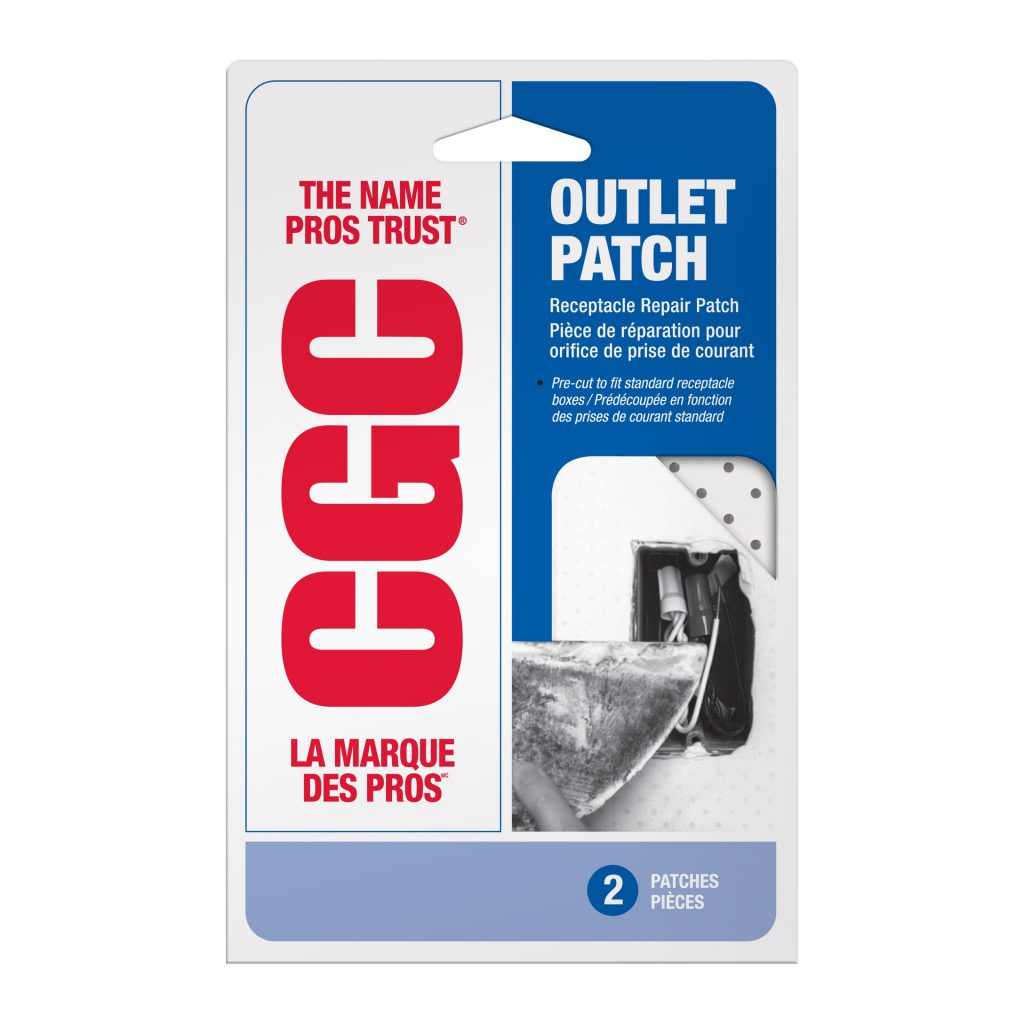
The Strait-Flex® Outlet Patch is a pre-cut patch that’s perfect for repairing and reinforcing the area around receptacle boxes.
It’s made from the same material as the The Strait-Flex® Perma-Patch, so it’s also extremely strong and bonds easily to the damaged surface. Because it’s designed to go around outlets, it removes the guesswork of getting the size right.
Repair clips:
If you’ve got a larger hole to patch, you may need drywall repair clips to support the weight of a new piece of drywall. Sheetrock® Brand Drywall Repair Clips are designed to use with standard 1/2” and 5/8” thick drywall panels.
Drywall repair clips are easy to use. Cut out the damaged area of drywall — a square or rectangle makes it easier — and you can use that piece as a template in a minute. Install the drywall repair clips by screwing them into the surrounding drywall. Now they’re going to act as a brace for a new piece of drywall.

Use the piece of drywall you removed from the wall as your template, and cut a fresh chunk of drywall that’s the same size. When you fit it into the space, it will be supported by the drywall repair clips.
***
If you’ve used a patch, you likely won’t need more than a bit of joint compound to smooth out the edges and help it blend.
But if you’ve used drywall repair clips and fresh drywall, it means you’ll need to follow the typical drywall process: joint tape around all the edges, and then several coats of joint compound over the tape to build it up to the surface of the wall.
Once your hole is patched, you’ll need to make the area blend in with the rest of your wall.

Once you have a smooth surface where the hole used to be, it’s time for primer. If you make the mistake of rushing straight to paint, the patched area will have a dull finish — and stand out nearly as much as the hole!
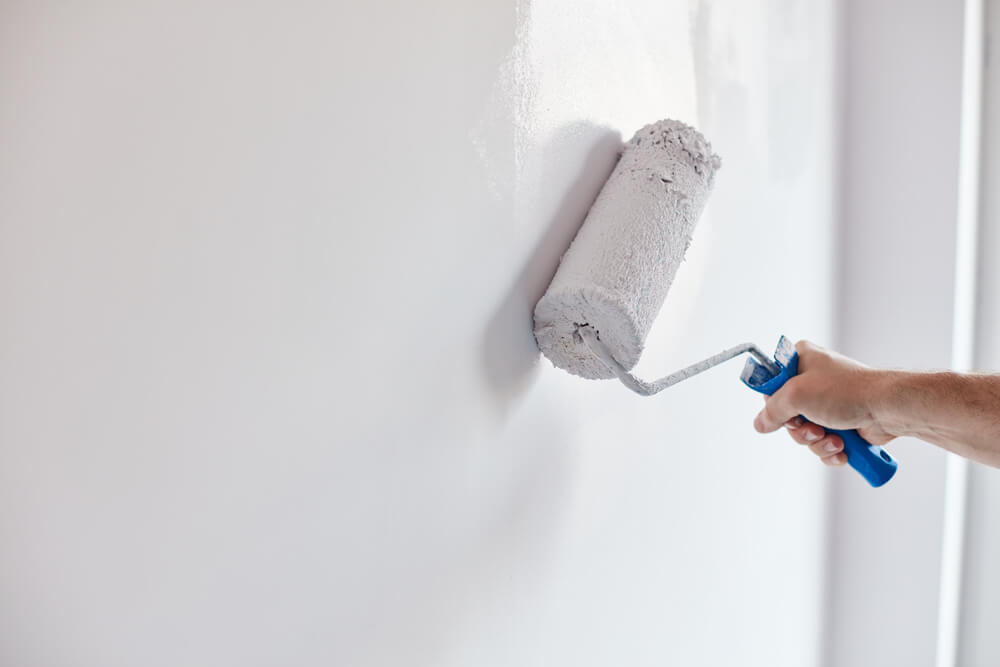
Prime the patched area, let it dry, and then apply the same paint you used on the rest of your wall. It might take an extra coat to blend it with the original paint. Stand back to check your work from a distance.
Questions about patching a hole and making it blend in once it’s repaired? We’re always happy to help! Drop by CHAMBERLAIN TIMBER MART today or call 705-687-4007 to speak with one of our experts.


Comments
Post a Comment